Long time readers will know that the happiest day of my life was when I got married. Dressed as Darth Vader.
The most expensive thing about our wedding was probably that Vader suit.
After nearly 10 years of marital bliss, I got bored at having that gorgeous suit packed away in a box. So I bought a full-sized mannequin and set about dressing it up.

Having a box of limbs delivered is a little disturbing.

WHAT'S IN THE BOX?!?!?

Beach Body Ready!

After partial assembly, it was fairly easy to begin to dress the doll.

I slipped the mannequin's arms into the suit, then attached them to the body.

Without all the armour, he looks disappointing.

The straps around the groin were too tight for a human, but he didn't complain. Surprisingly, after several years, the batteries still worked

The mannequin's hand is solid - there are no gaps between the fingers

The glove doesn't have any fingers inside it - that makes it look strange.


Replying to @edent
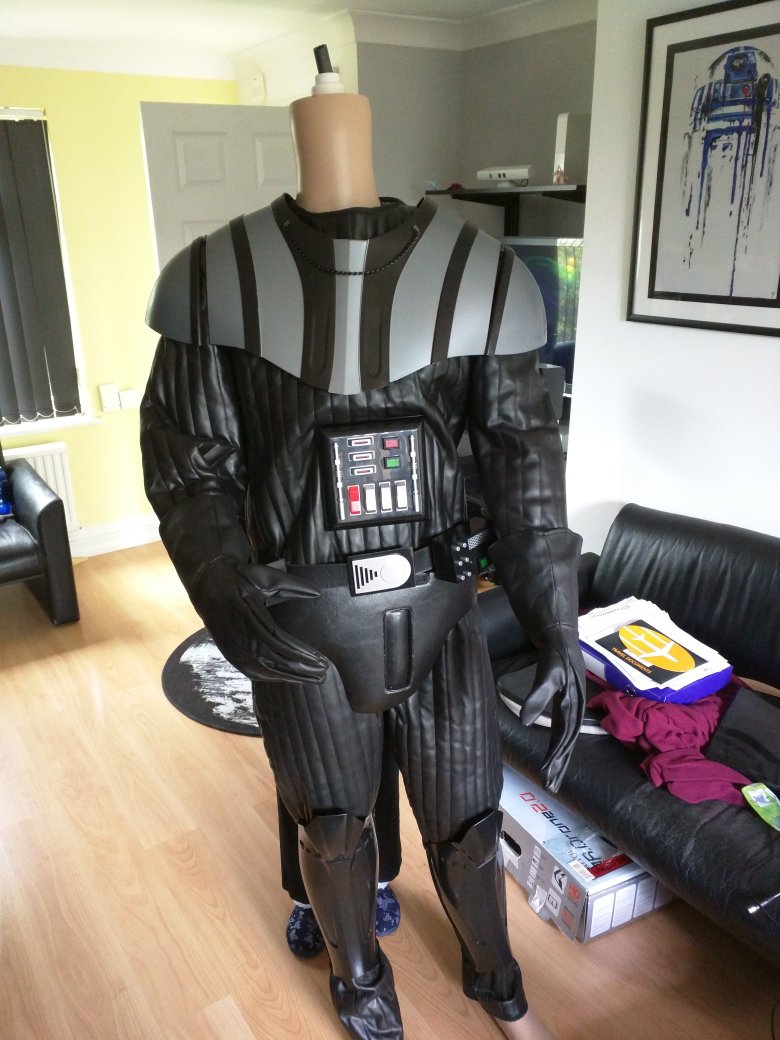
Now witness the awesomeness of the fully armed (but headless) battlestation!
pic.x.com/nvgv7mbamt

Replying to @edent
Disaster!
@summerbeth
has fallen in love with Anakin the Mannequin!
pic.x.com/vt1llushyi


The costume doesn't come with shoes - his bare feet look silly.

I take it back Lord Vader! You don't look silly at all!

The cloak gave extra stability - the weight at the back should stop him from toppling

Fully assembled, dominating the room.
There are a few more bits to do
- Weight the base more - the costume is heavier than normal clothes, and that pushes off the centre of gravity.
- Fix the fingers - hopefully in a way that will let him hold a lightsabre!
- The cloth hangs a little loose on the mannequin - it could do with being bulkier.
- CONNECT IT TO THE INTERNET!!!!
- ...
- * ahem* I mean - can I use a Raspberry Pi to make it motion sensitive and voice activated?
You can buy a Darth Vader costume and a full-sized mannequin on Amazon.
Enjoy!
One thought on “Building Darth Vader”
I FIND YOUR LACK OF FAITH IN THE INTERNET OF THINGS DISTURBING
Heh. You're probably right not to connect it to the net!
What links here from around this blog?