Dark Mode and Transparent Images
Dark Mode is the new cool. Apps which automatically switch to an eye-friendly palette when lighting conditions are poor. Nifty!
Most of the time, it's as simple as making the text a lightish colour, and the background a darkish colour. But all that fails when you use transparencies in images.
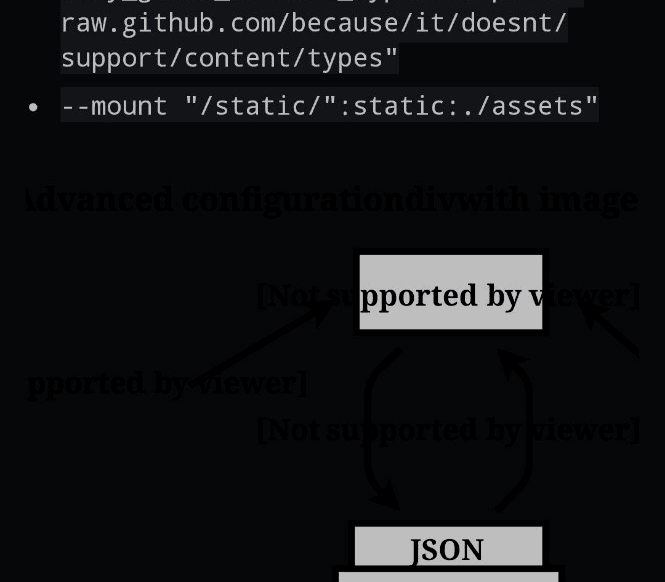
Here's a quick example. Using the GitHub app in dark mode, I visited a repo which used a transparent image as an illustration:

Yikes! I can't read most of that text, even if I whack up the brightness on my screen.
Here's what the image looks like in an editor:

As you can see, the majority of the background is transparent - indicated by the traditional checkerboard pattern - with occasional blocks having a background colour.
Background transparency is be great if you can guarantee the background colour! But the web is wonderful; browsers are intended to be the user's agents. This means you can substitute the page's design with your own. Change fonts, make things easier to read, flip colours, whatever you want.
To account for dark mode - or any user changed interface - you have two main options:
- Remove transparencies
- Stroke outline
The first is obvious - just put in a background colour. The second is a little harder to explain.
Text can have a colour - fill:#000 paints the text black.
Text can also have an outline - known as a stroke. stroke: #fff; stroke-width:2px; paints a 2 pixel white border around the text.
Here's an example SVG (I've mocked up the transparent background):
My suggestion is - put a high-contrast stroke around any object where you expect the background colour to be shown through a transparency.
3 thoughts on “Dark Mode and Transparent Images”