

The good folks at Thermal Master have sent me their latest camera to review - and it is a bit different to all the others I've tried.
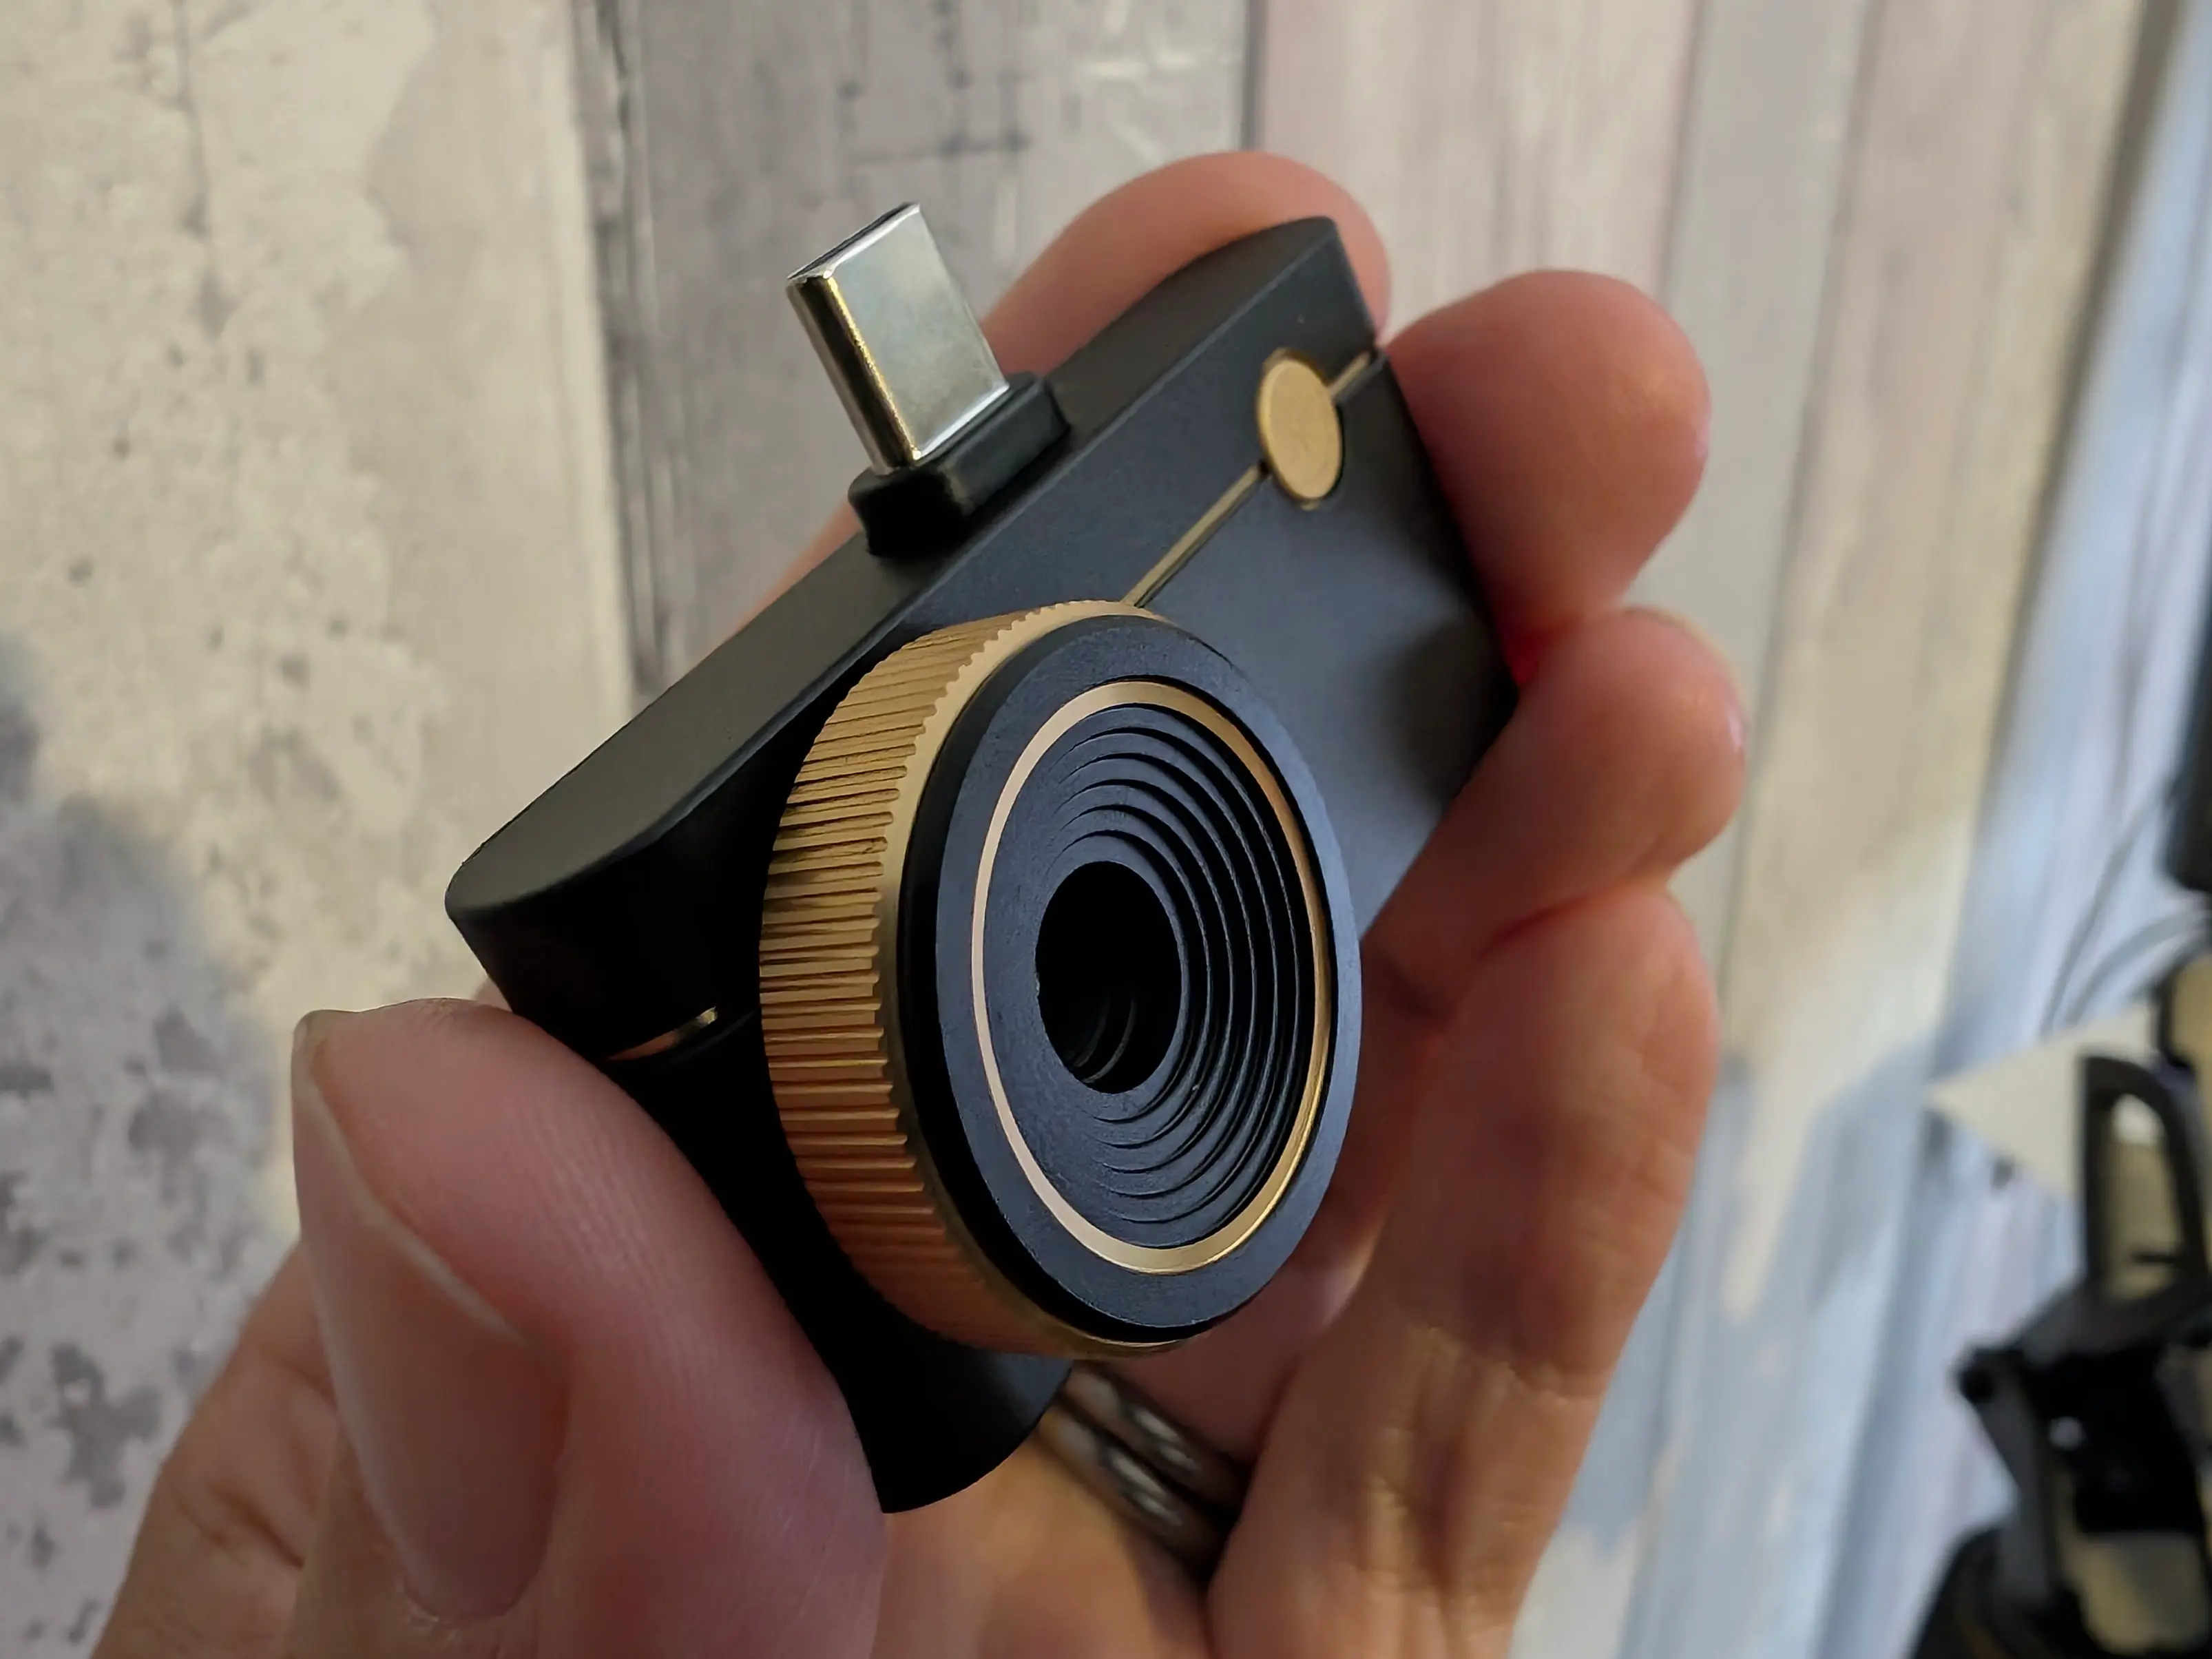
Whereas previous cameras are good for bird watching, or wildlife spotting, or finding leaks at home - the P3 has a manual macro lens and is specifically designed for getting close-up and personal with your electronics.
Yup! See just how hot your CPU is getting 🥵
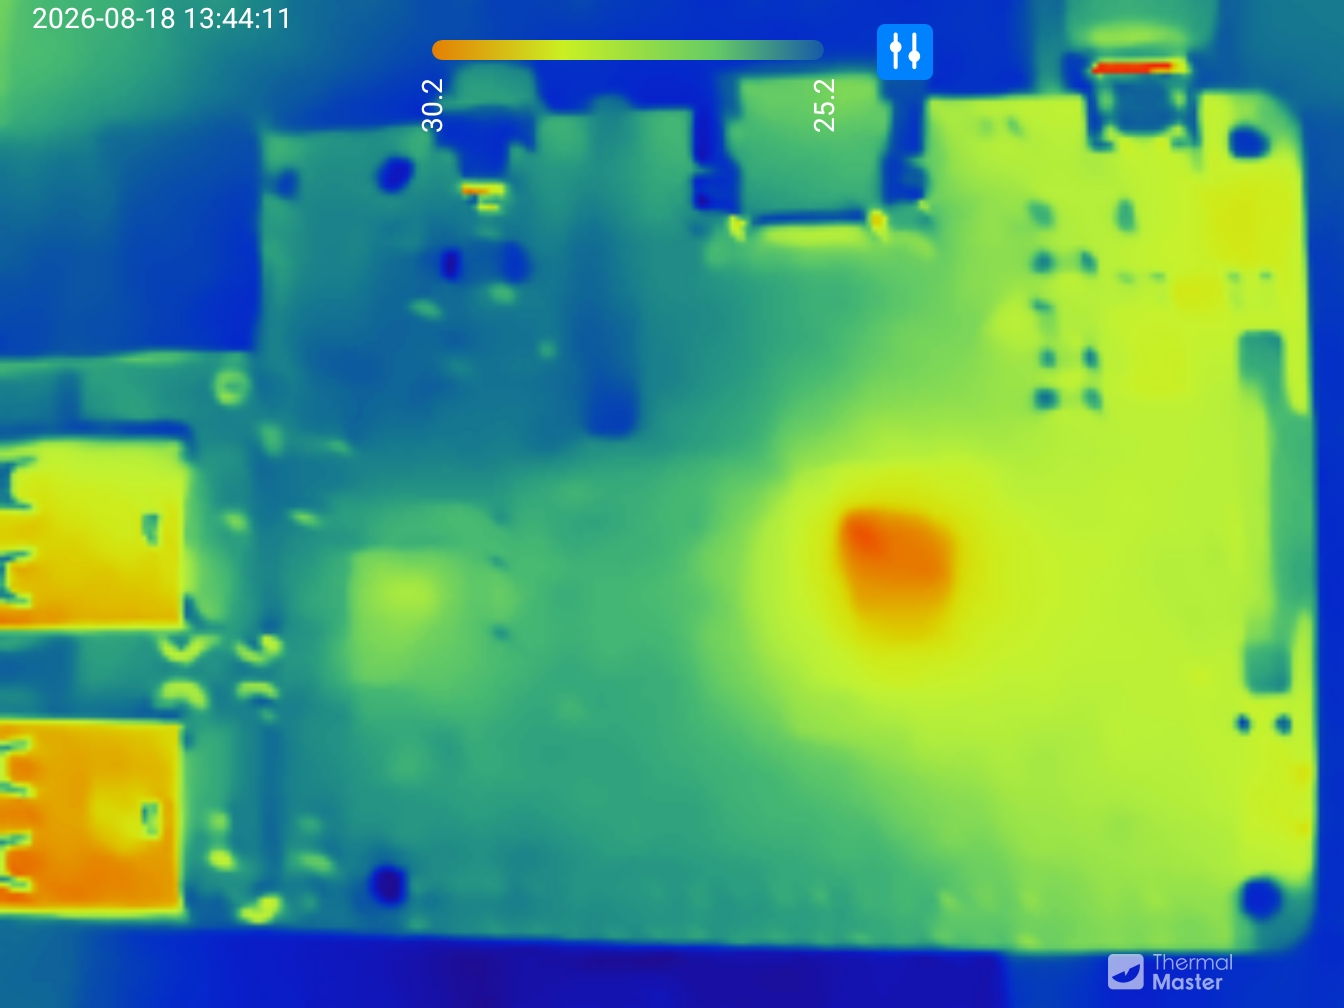
Let's take it for a spin!
Unboxing
As well as the camera (which looks gorgeous with its gold trim) you get a carry-case, USB-C extension cable, and a Lightning converter for older iPhones.
The metal casing of the camera feels delightful and gives it a bit of heft. The focus wheel is reasonably stiff which makes it easier to position just right.
Sample Photos
These are the raw images taken directly from the app. I haven't resized or altered them in any way. What you see is what you get. Here's a hot-spot on a circuit board:
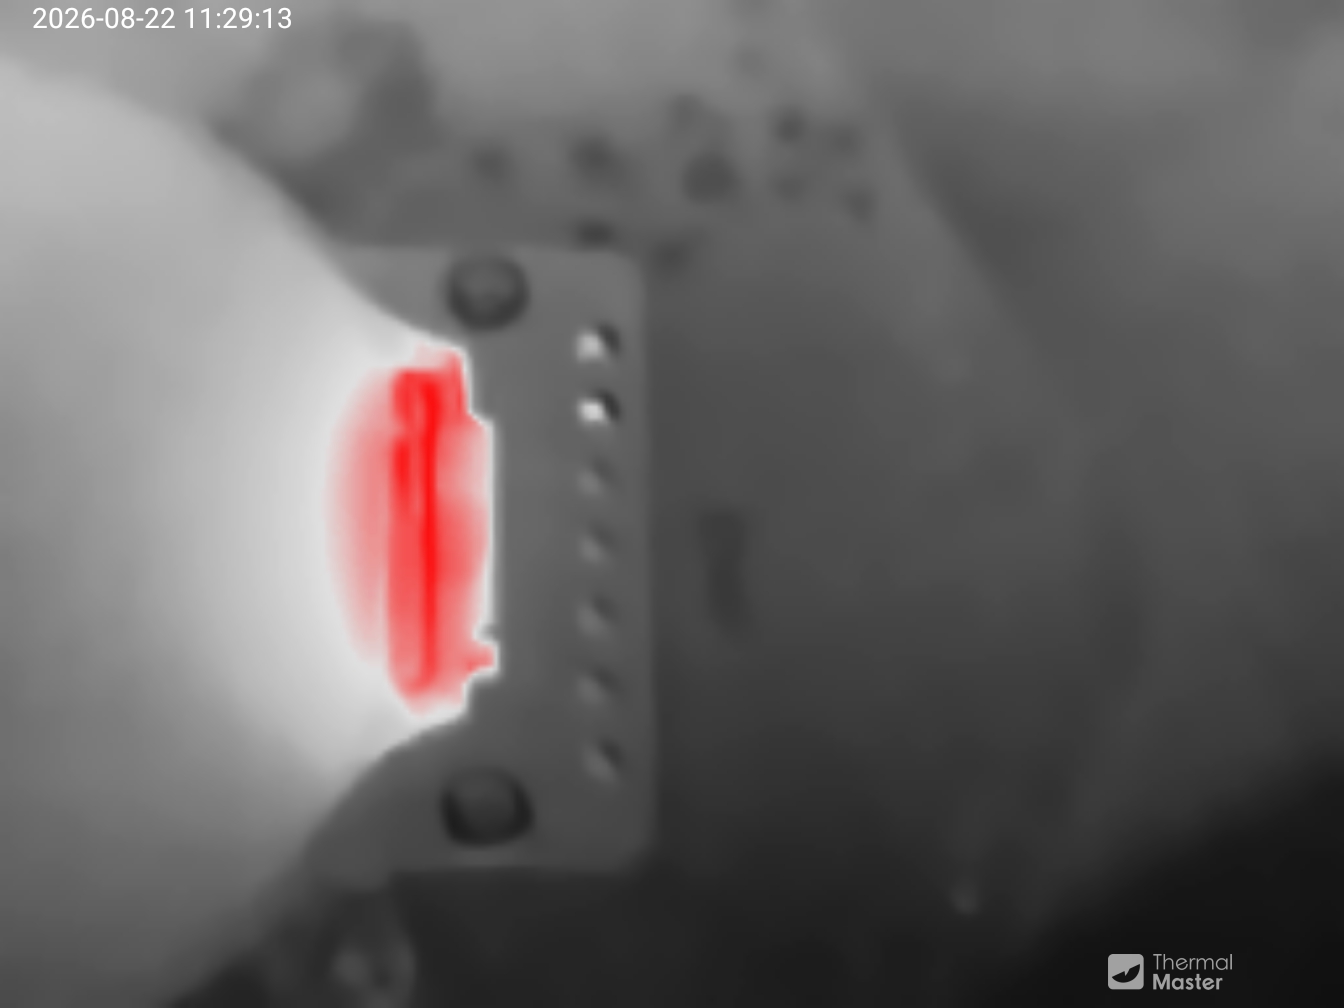
The natural size of the images is 1344x1008. That's obviously upscaled from the sensor, but there's a surprisingly amount of detail in there.
Here's a small circuit board which has just booted up:
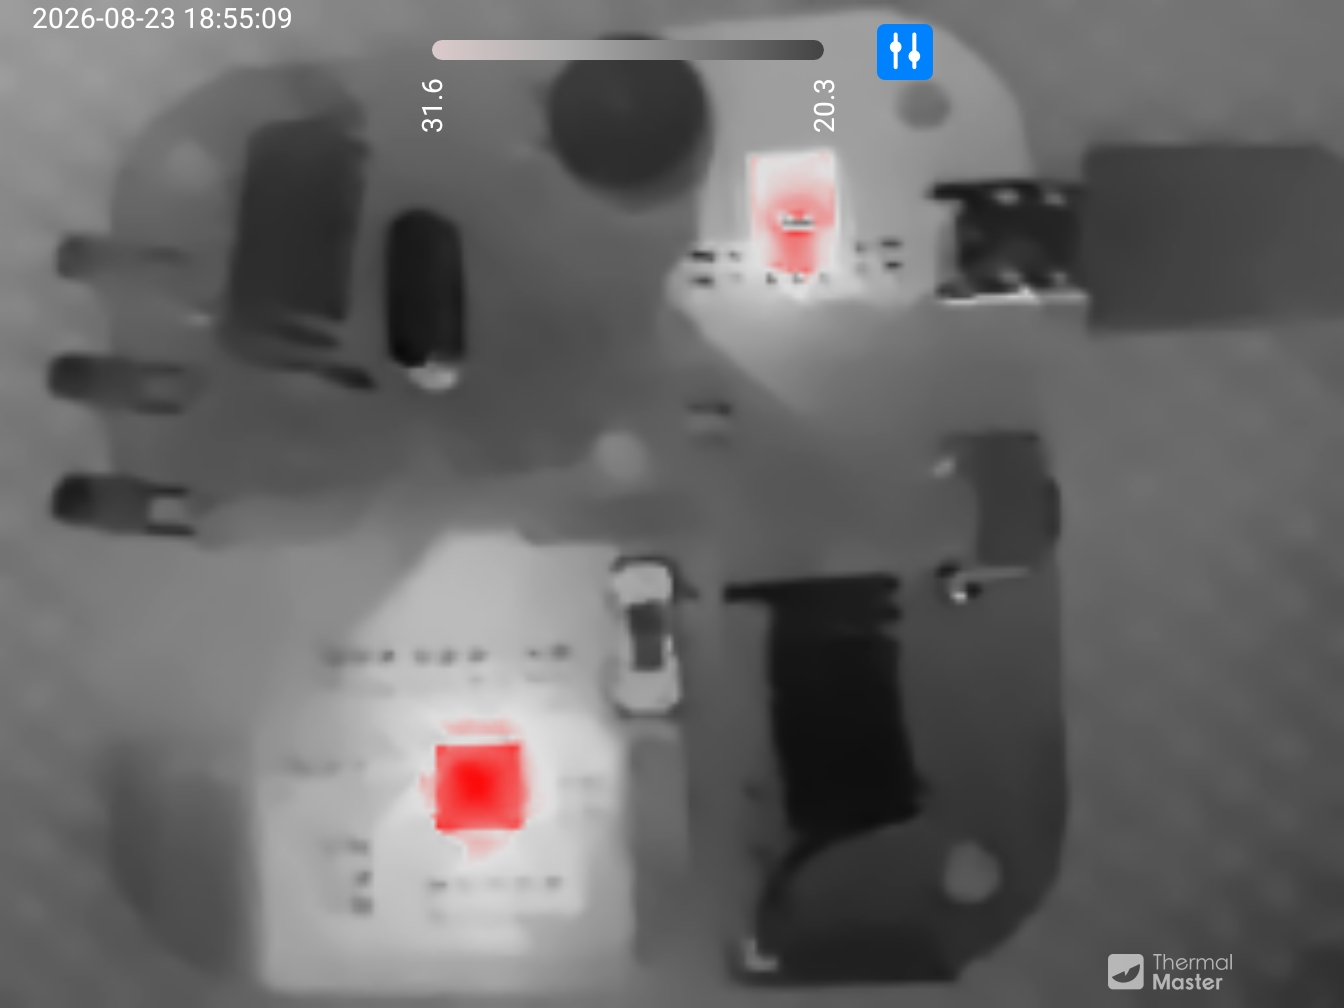
Where the P3 shines is when you twist the manual lens all the way down to macro. You can get about 2cm away from a surface and stay in focus.
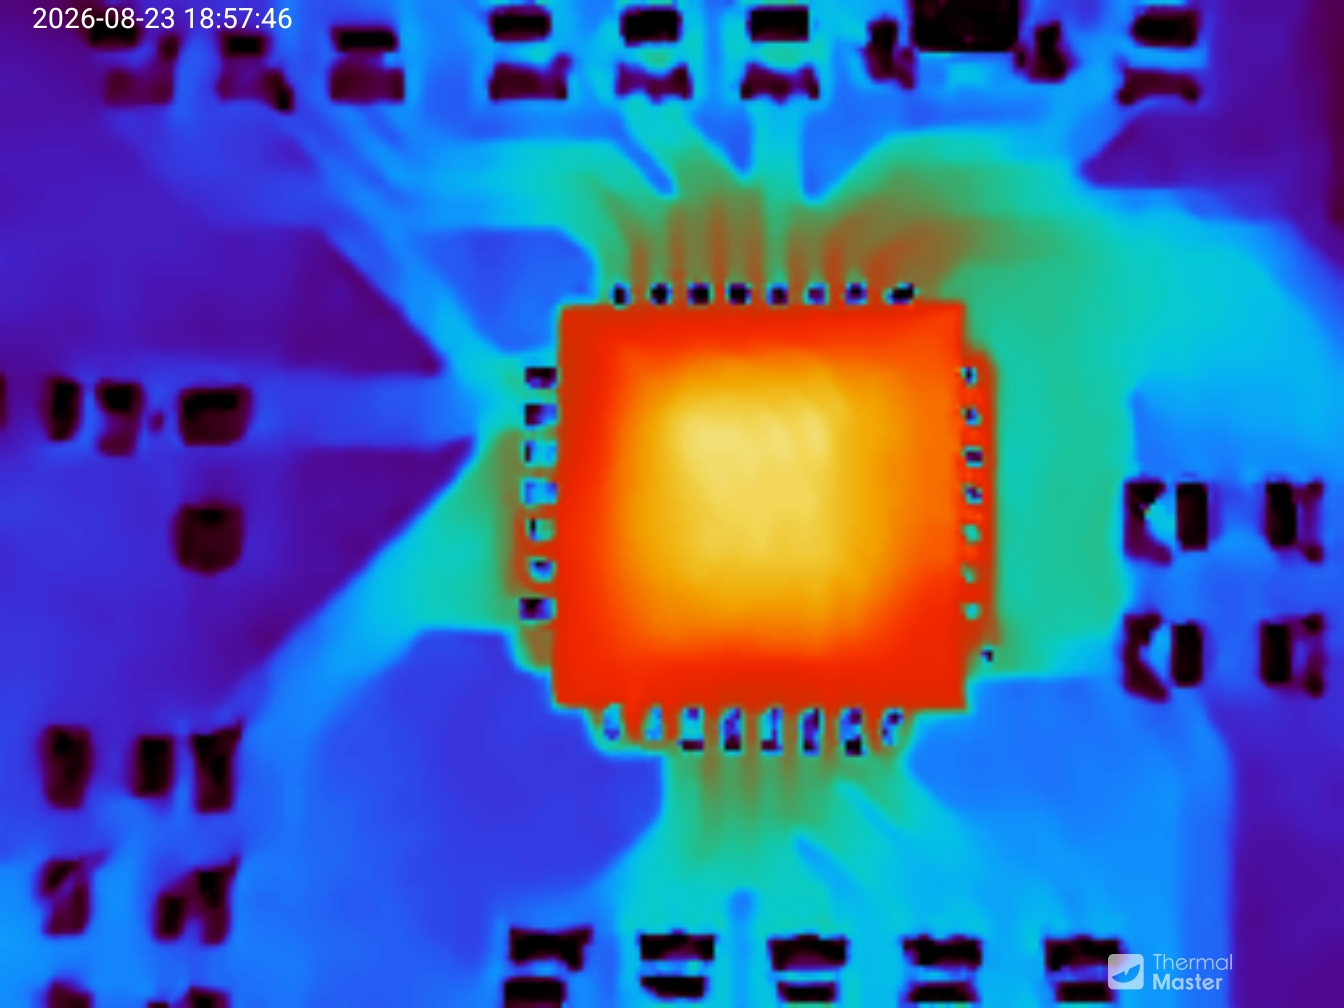
Obviously don't get that close to something red hot!
Annoyingly, the images are uncompressed JPEG and weigh in around 6MB each. I've losslessly compressed these to WebP, which is about 10% of the size.
Colours
There are a variety of different colour palettes to play with. Some are more useful than others. Here's a mug of hot and delicious matcha rendered in the various colours:
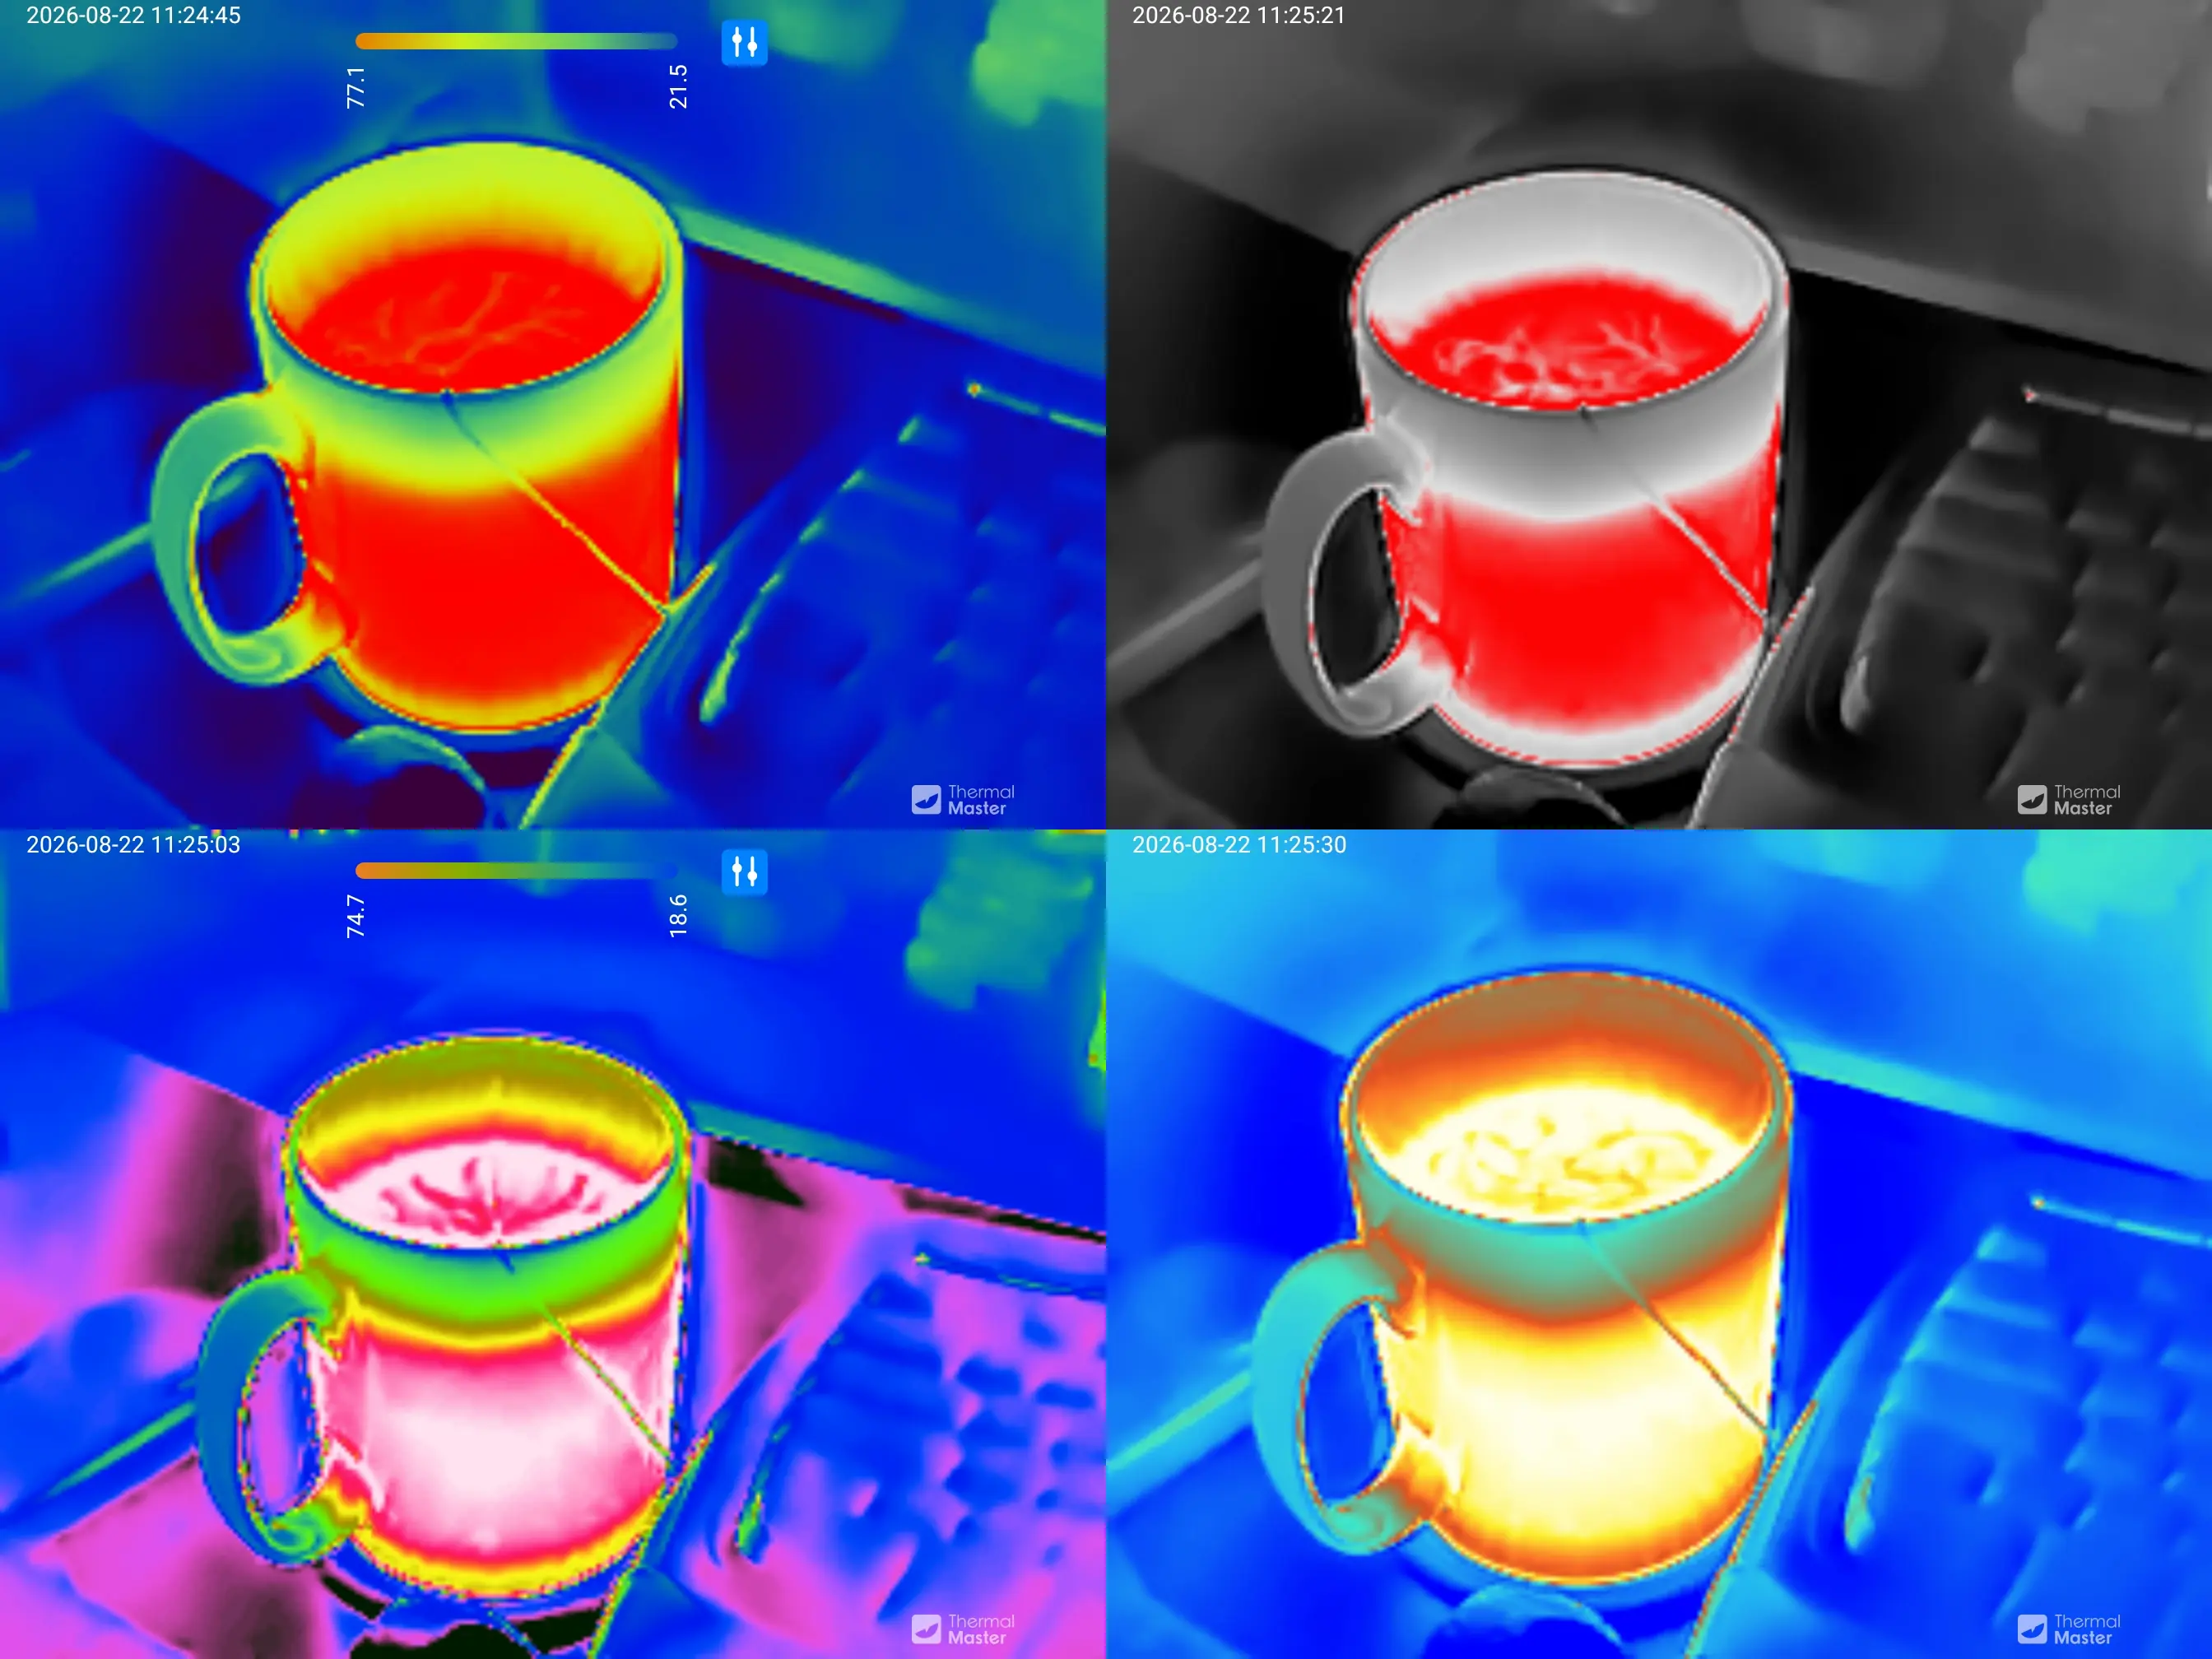
Scrolling through the colours is a little difficult in the app (more on that later) but once you've found one you like, it stays that way for the photography session.
EXIF
Geolocation is taken from the phone - there's no GPS chip in the camera. You can refuse location permission to the app and it will work just fine.
That's just about all you get other than the time and the model name of USB_IR_RS300_P2L - the infrared details aren't recorded separately.
Video
The video doesn't upsample the image, it has a resolution of 504x672 playing at 25fps. Audio is recorded from the phone's microphone and is 64kbps mono. A minute of video is around 22MB. I've recompressed this one for the web.
The App
It is, sadly, an inevitability that good hardware is always accompanied by a substandard app. The Thermal Master Android App is the only way to access the camera. It has a relatively easy to use interface with plenty of options.
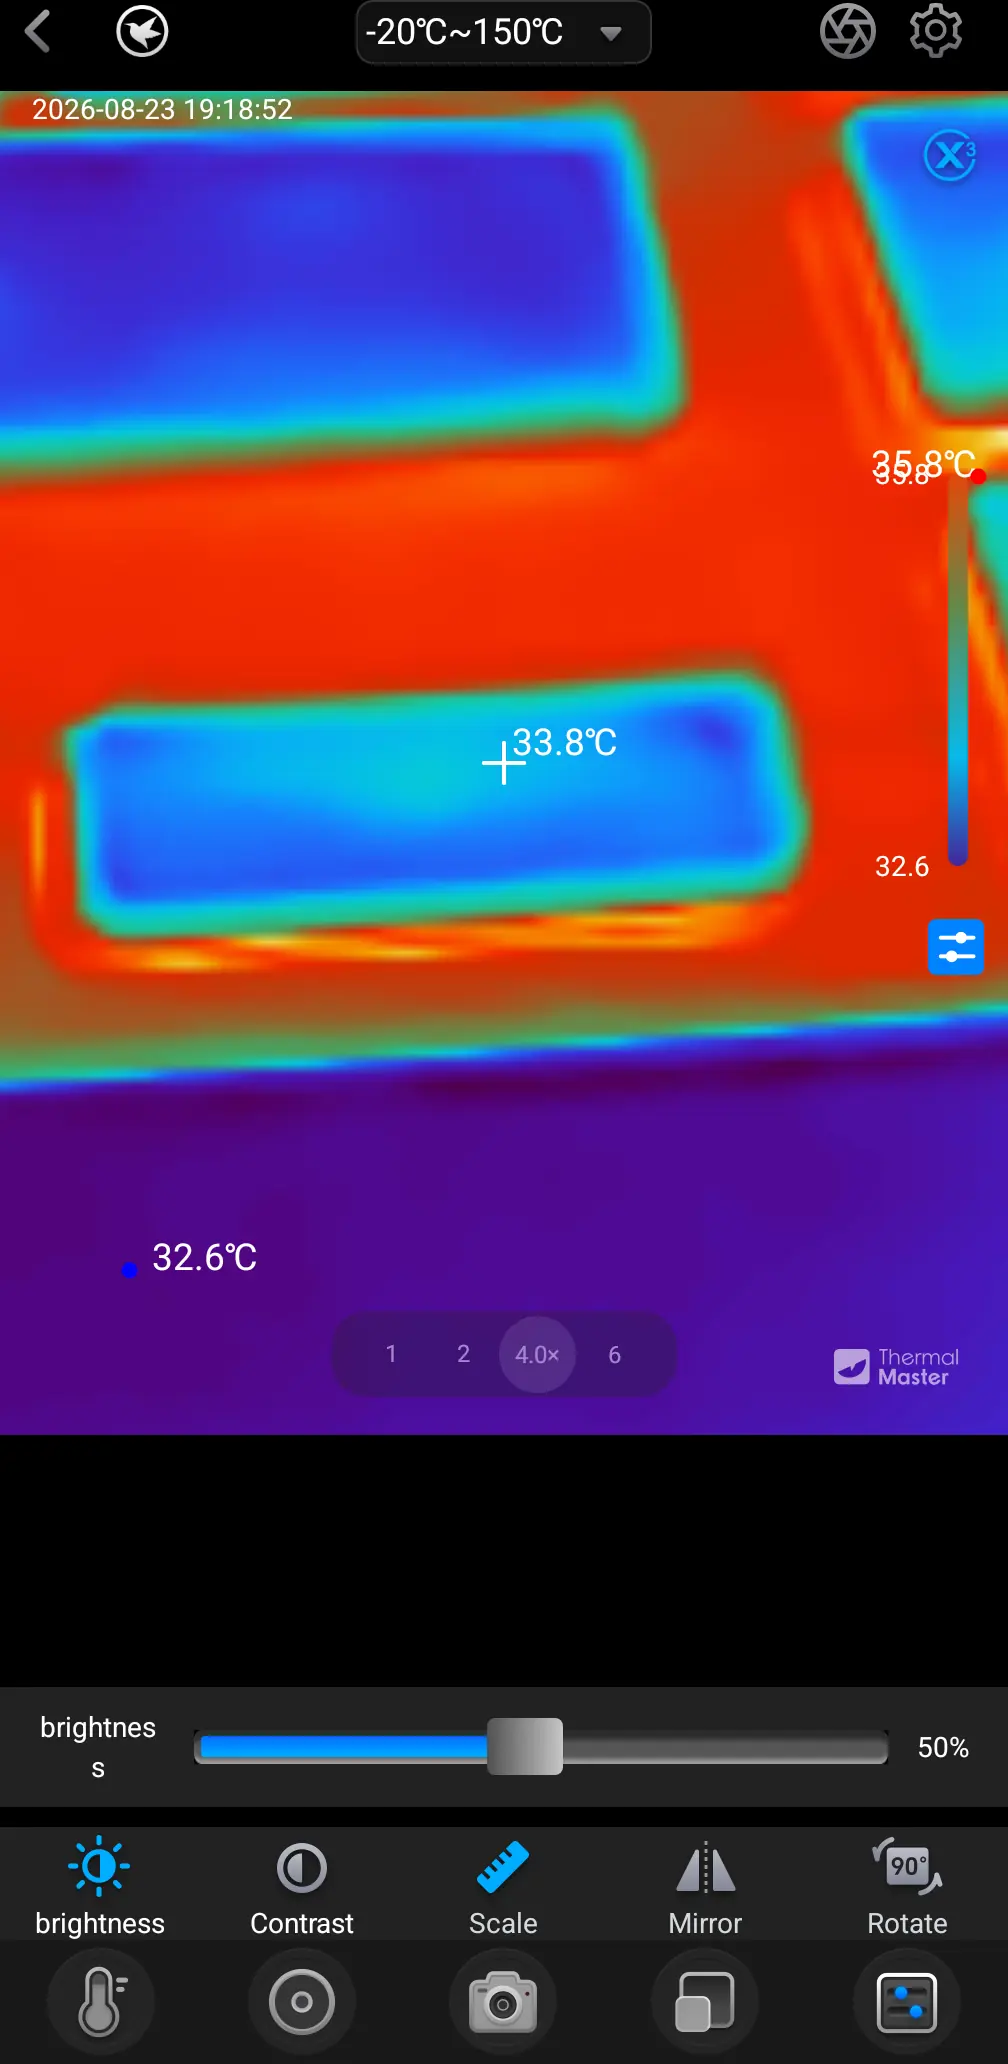
As you can see from the word "brightness" the UI is a little janky in places.
There's a decent amount of settings to fiddle with.
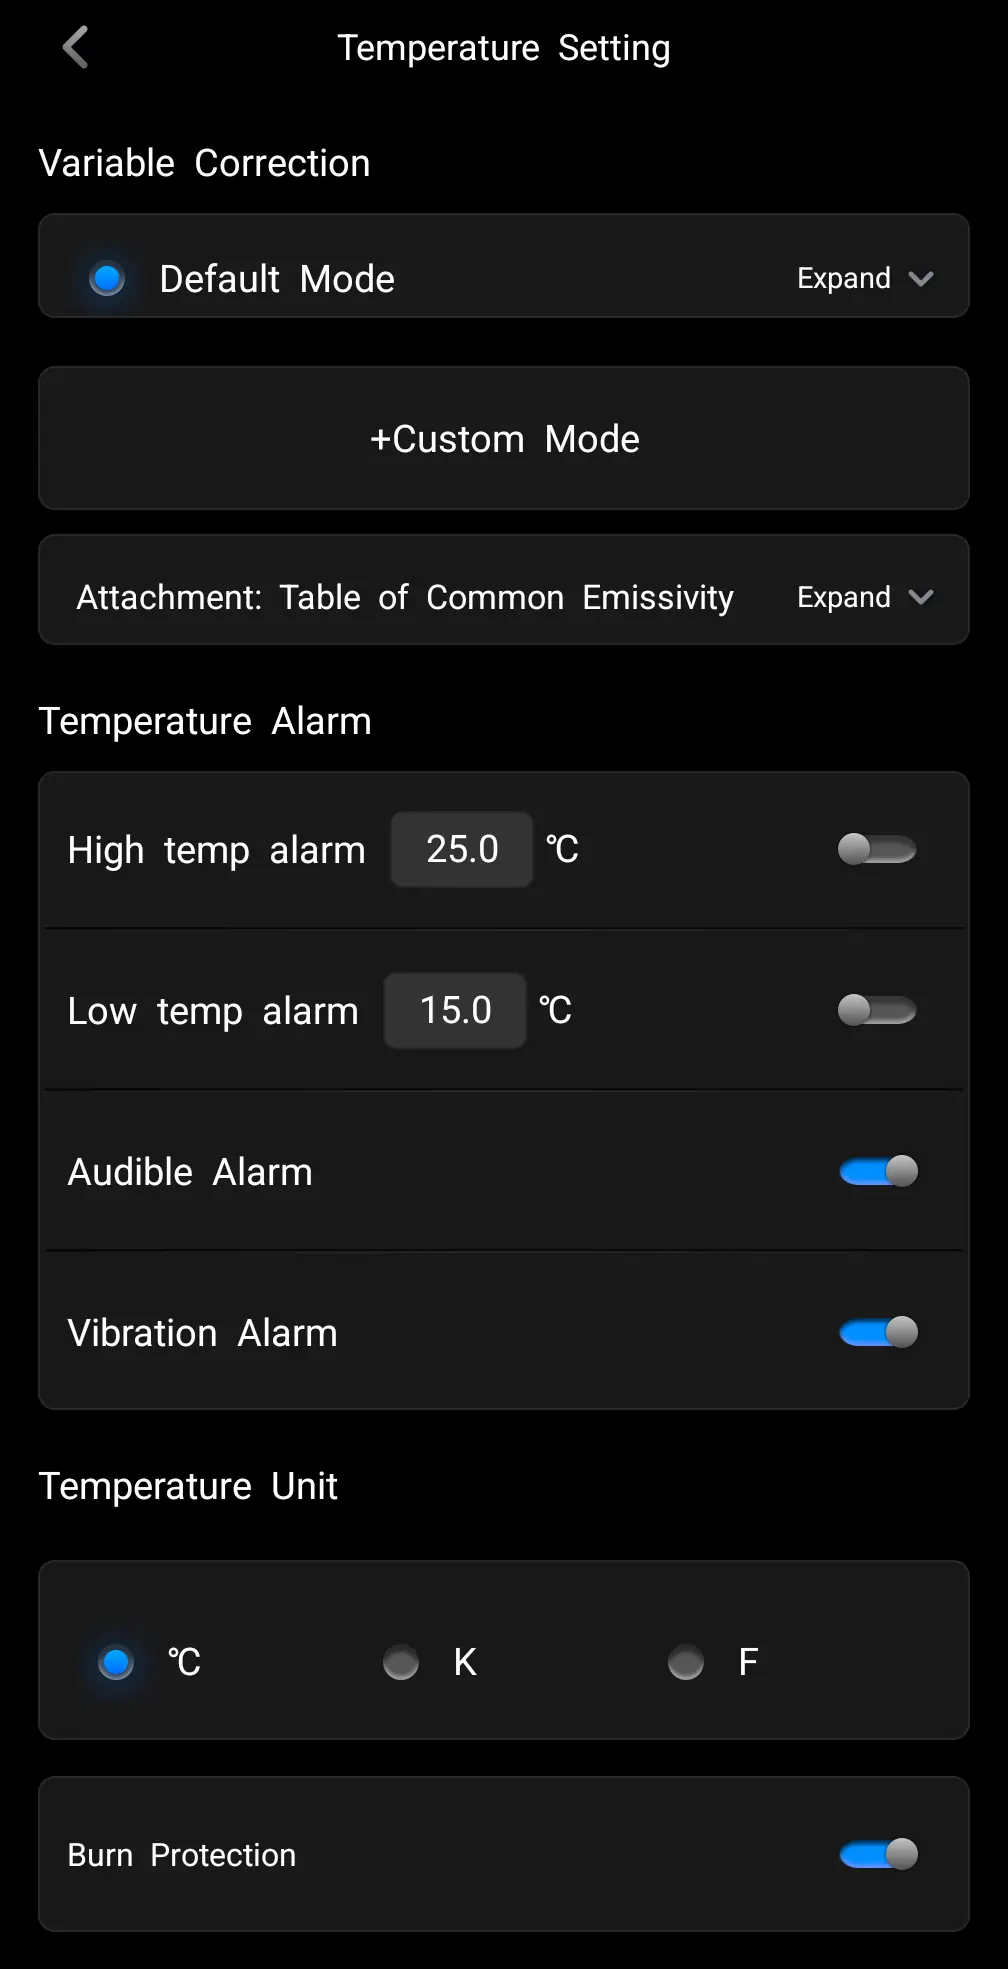
You can also change which elements get displayed on the final image.
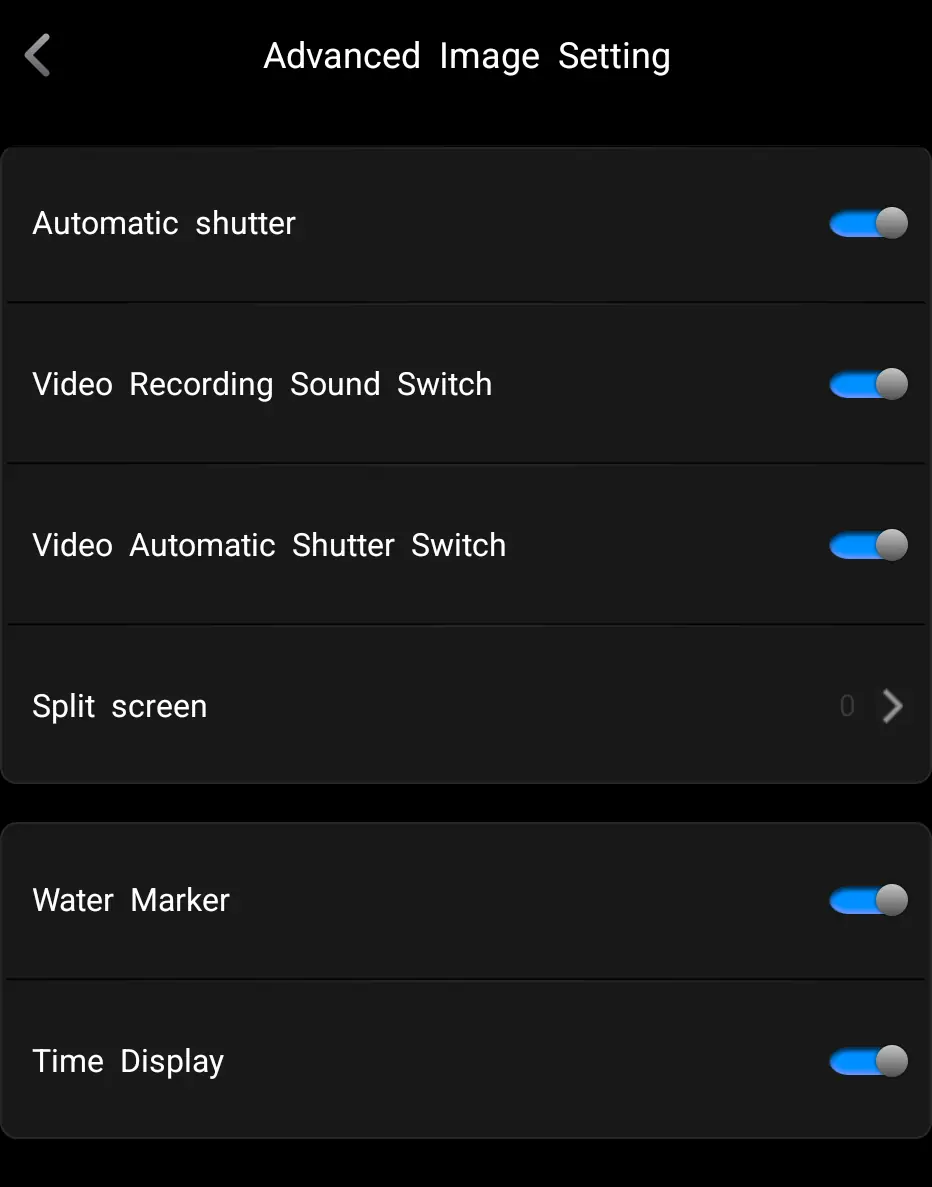
Unfortunately, it is also a bit crash-happy. Most times I used it, the app would randomly close. It takes a little while to re-open thanks to a mandatory animation. So it gets a bit annoying. Flicking through some of the options can be slow and tedious. It also doesn't respect the phone's orientation, so images may be 90⁰ off what you expect.
The app updated the firmware on the camera, but didn't say what had changed.
It takes photos and videos, allows you to share them, and has a bunch of options to play with - but it does have a habit of crashing just when you're about to take the perfect shot. There is also zoom available, but it is digital only - so you're just making the pixels bigger rather than getting optically closer to the object you're scanning.
Linux Info
I tried plugging it in to a Linux laptop. It shows up as 3474:45a2 Thermal Master Technology Co., Ltd. P3 - but that's about it. There's no way I can find to access the thermal images.
To be fair, this is explicitly sold as an Android and iOS device. I'm hopeful someone will be able to reverse engineer it.
Cost and Final Thoughts
Thermal cameras are expensive. This will run you about £280 on Amazon or about £260 direct. Readers of this blog can get 10% off using code THERMALBF10
If you run a hackspace, this is a no-brainer. The ability to see hot-spots on your circuits is immediately useful. The detail is impressive, allowing you to see exactly what's causing problems.
If you're a hobbyist, this is definitely in the "ask Santa if you've been good" category. You'll find it handy on any small projects you have, or to diagnose faults with electrical equipment.
For non-macro uses, it's also pretty good. You might be better off with a dedicated device if you want to go hunting wildlife or doing home surveys.
The only fly in the ointment is the app. While somewhat customisable, it does repeatedly crash and it isn't the easiest to use or set up. I found that pretty frustrating and have fed back the problem to the developers. I appreciate it saving high quality images - but a PNG or lossless WebP would be easier to work with than massive JPGs.
Ultimately, this is an excellent thermal camera. It looks lush, it is customisable, the images are high quality, and the macro-lens is surprisingly useful.
 Product website


