Notes for anyone who wants a more detailed guide than the one on the official Wiki.
Download OpenWRT
-
Download the
initramfsfirmware file - Rename the file to
WN531A6.bin -
Download the
sysupgradefile
Download the original firmware
Check the model number on your router. You can download the firmware from Wavlink directly. They have a specific firmware for WL-WN531A6-A and WL-WN531A6-C.
Make sure you download the correct one. You can also back up the original firmware from your router if you prefer.
Connect to the router
Power on the router, but don't connect it to your modem. Instead, connect it to your computer by Ethernet cable. The Ethernet cable will need to go into one of the LAN ports - not the WAN port. The router may take a few minutes to boot up.
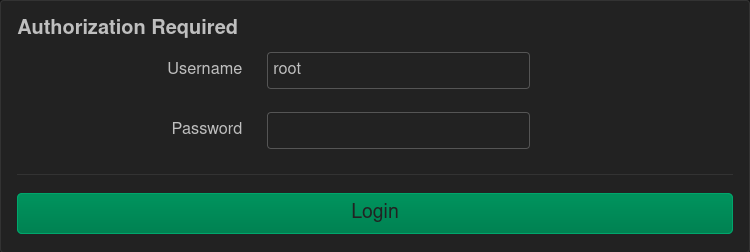
In a web browser, visit http://192.168.10.1. The login screen should look like this:
 The default password is
 admin
If this is your first time using the router, you will need to go through the on-screen setup process.

Back up original firmware
This is an alternative to simply downloading from from Wavlink directly.
Click the setup icon at the bottom of the page.
 Click the
 USB Storage link.
 The USB disk is mounted at
 sda.

In your browser, go to http://192.168.10.1/webcmd.shtml - this is a "hidden" area which lets you run Linux commands.

Type the following line in the Command input box:
dd if=/dev/mtd4ro of=/media/sda/firmware.bin
Click Apply. After few seconds, you'll see this in the output box:
30080+0 records in
30080+0 records out
Type sync in the Command input box and click Apply.
Physically remove the USB stick from the router and put it in your computer. Verify that it contains a file called firmware.bin which is 15,400,960 Bytes in size.
Flash the OpenWRT firmware
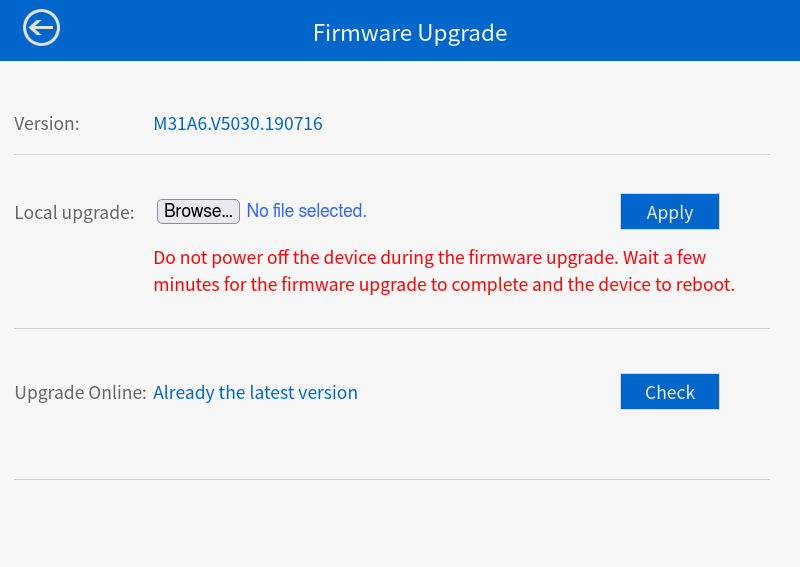
From the main page, go to Setup, and then Firmware Upgrade. It should look like this:

Note - if you haven't connected before, this page may be slow to load - because it tries to connect to http://fw.iqs.link/firmware/router/WN531A6-WAVLINK.js but the page will load eventually.
Upload the WN531A6.bin which you renamed earlier.
When you hit the apply button, it will take a few minutes.

You need to wait until the rapid flashing red LED has been replaced with a solid blue light.
You can verify that the system has upgraded by SSH'ing into the unit with:
ssh root@192.168.1.1
Note! The IP address has changed to 192.168.1.1.
Set a password
After logging in via SSH, run passwd and set a secure password.
Install the rest of the firmware
Exit the SSH session.
On your machine, run:
scp openwrt-ramips-mt7621-wavlink_wl-wn531a6-squashfs-sysupgrade.bin root@192.168.1.1:/tmp
to transfer the upgrade firmware.
SSH back in using ssh root@192.168.1.1
Run:
sysupgrade -v /tmp/openwrt-ramips-mt7621-wavlink_wl-wn531a6-squashfs-sysupgrade.bin
This will take a few seconds, and then the router will reboot. Wait until it has stopped flashing red, and is solid blue.
If you try to SSH in again, it will fail becuase the host key has changed. Run:
ssh-keygen -f "~/.ssh/known_hosts" -R "192.168.1.1"
Then SSH in again with ssh root@192.168.1.1
You will need to set up a password again.
Install LuCi
By default, there is no web interface. For this step, you will need to connect the router to the Internet via its WAN port.
Once done, run
opkg update
That should download the list of all the software packages available for OpenWRT. Once done, run:
opkg install luci
Once that completes, you can visit http://192.168.1.1 in the browser:

Let your configuration journey commence!