Having solar panels on your roof is great - but you need something to turn their wicked DC electricity into pure and godly AC. This bit of kit is called an "inverter". It's a big box which lives in your roof working magic. This is what ours looks like:

We chose a Fronius Primo inverter - they're a reliable brand which we used in our previous build. I've been impressed that every few months my inverter's software was upgraded. Not bad for a 6 year old bit of kit.
And, most importantly for my purposes, it has an API!
Internet Connection
The Primo has two Ethernet jacks and built in WiFi. Obviously Ethernet provides a more stable and secure connection - but running a cable to the loft isn't always easy. The WiFi only supports 2.4GHz - but that's fine. It has better range than 5GHz, and it's not like this thing is streaming gigabytes of data.
When you set up the inverter, it can broadcast a WiFi access point. You can connect to this to get it set up and then provide your normal WiFi details.
Rather disappointingly, the password is hard-coded as 12345678. The same code I use on my luggage.
What's the 2nd jack for? It acts as a hub, so you can hook up several inverters to the network.

Display Screen
There's a little display screen with 4 control buttons:
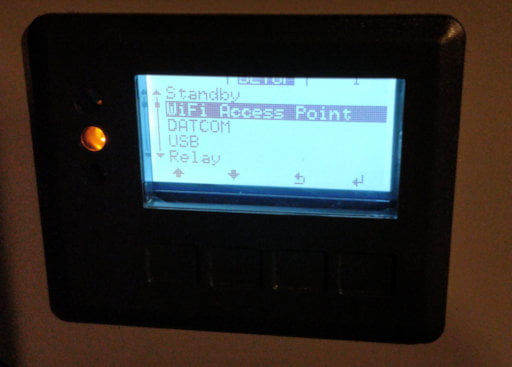
It's basic, but does the job. Lets you configure the inverter, set the time, monitor the status.
Ports
If you don't want to hook your electricity up to the Internet (what could possibly go wrong?!) there's an internal USB port. This can be used for updating the firmware. Or as a datalogger.
There are a couple of other connectors. A serial port (RS485) for "Modbus RTU SunSpec or meter connection".
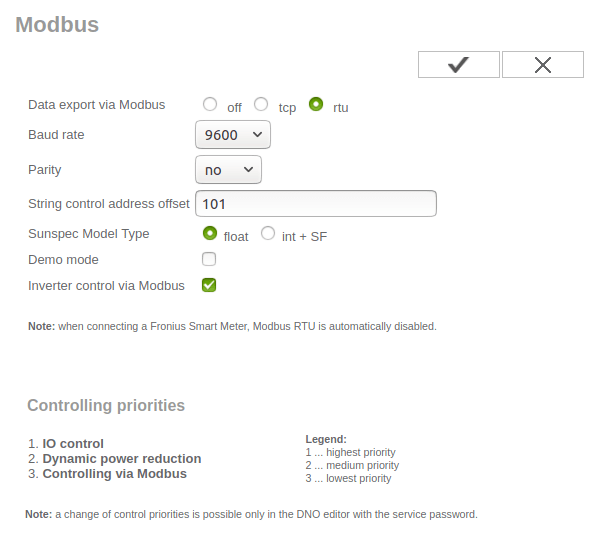
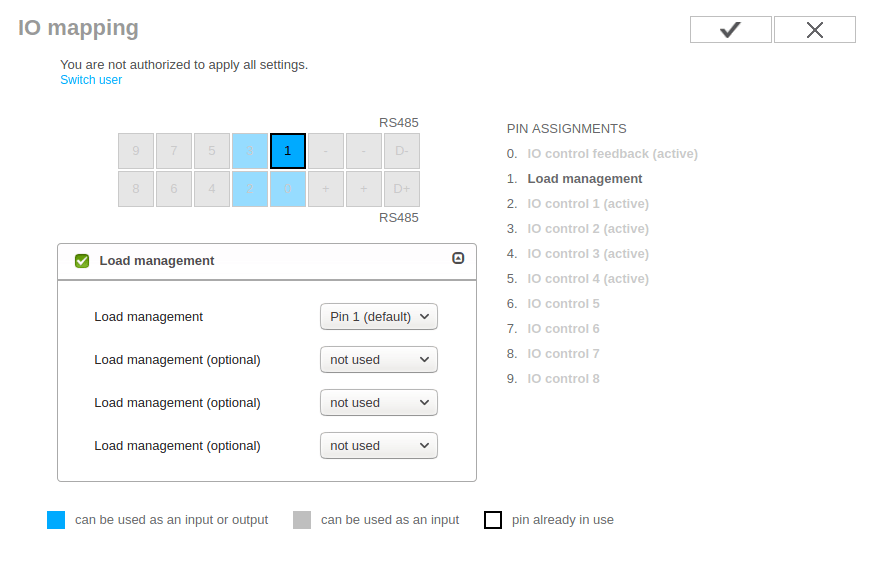
You also get 6 inputs and 4 digital inputs/outputs. These are the interface to "ripple control receiver". I have no idea what they do. Perhaps I'll shove some wires in to them and hook up a Raspberry Pi?
Web Interface
The web interface is pretty swishy. It also allows you to set up a "guest" URL for read only access. Handy if you want your installer to be able to monitor your system.
There's also an app - but, like most apps, it's a bit crap.
There are separate usernames and passwords for administrator and user accounts.
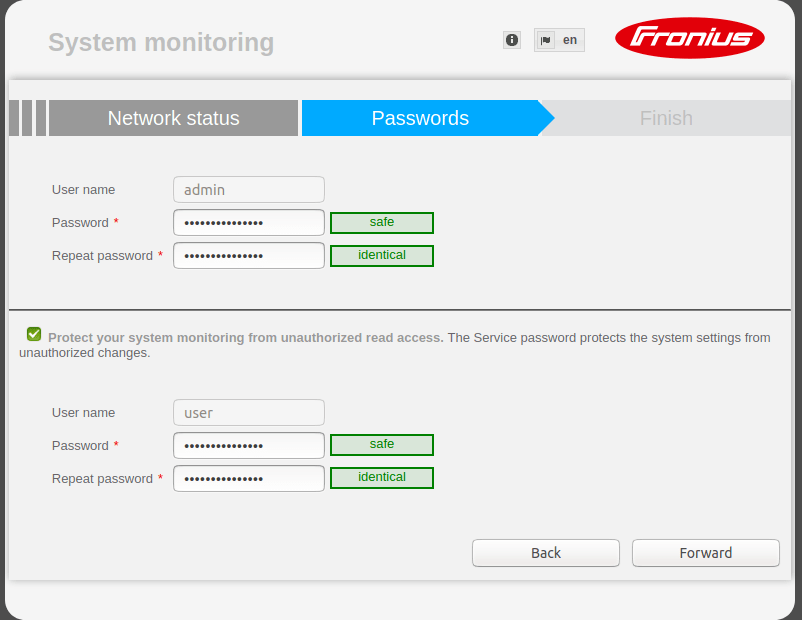 This means that only authorised people can change the settings. Good!
The read-only API is unauthenticated. So anyone on your network can see real-time power generation data. That's probably fine - but it would be nice if that could optionally be protected.
Firmware
Mine came with the latest firmware. The web interface will alert you when there's an update.
Amazingly, Fronius provides detailed changelogs with each release.
Web Push
The inverter can regularly push data to an external system. Either via FTP or HTTP POST in a variety of different formats.
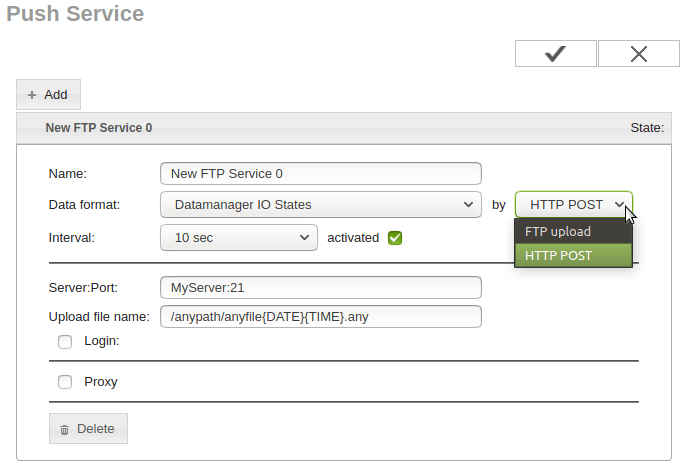
There's a handy guide on PVOutput if you want to use their services for monitoring.
API
Finally - there's a JSON API! That's what we're going to explore in tomorrow's blog post.
What links here from around this blog?