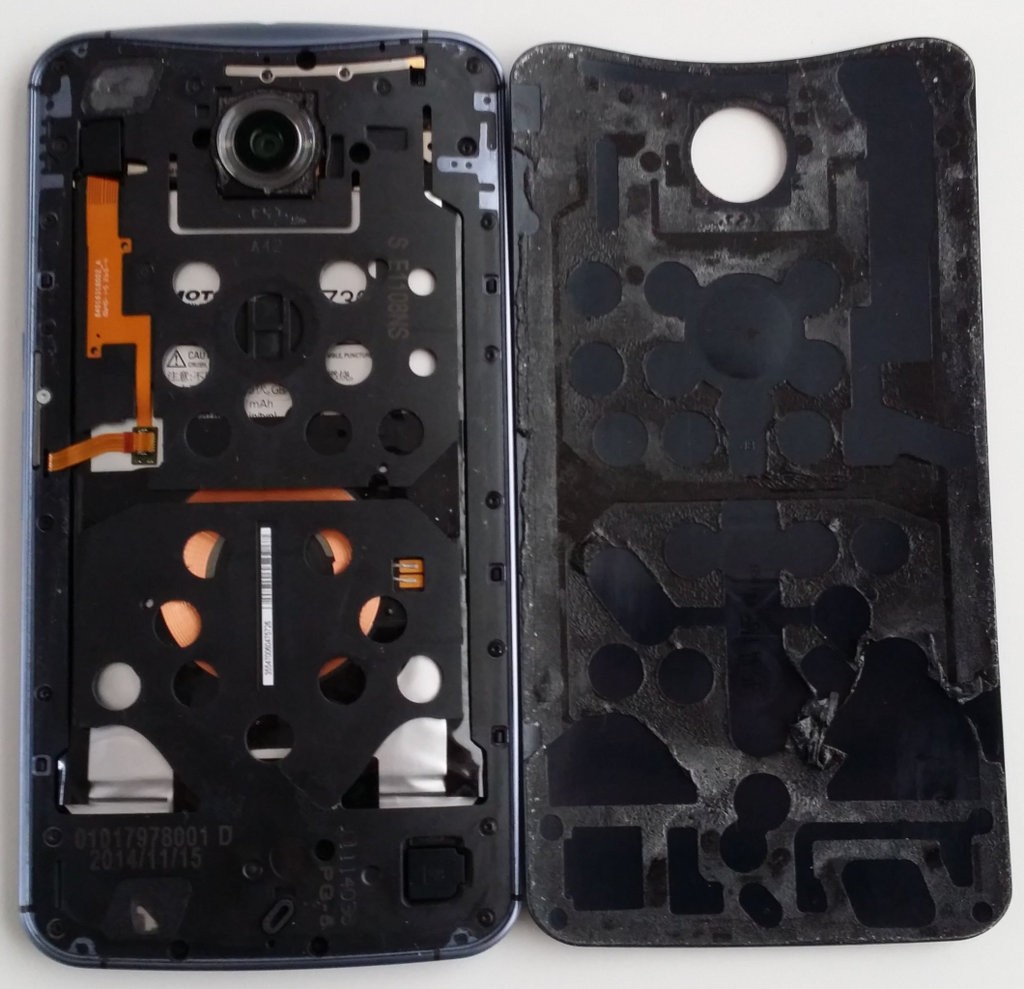
Earlier this year I was moaning about my Nexus 6. Motorola's crappy battery technology is well documented, my phone was running so hot that the glue holding the device together became unstuck!
Eventually, the battery failed. It would report being fully charged, but only run for a few minutes before switching off. Recalibrating and resetting the battery statistics failed to improve the situation.
So, time to buy a replacement Nexus 6 battery. Cost under £15 and delivered on the slow boat from China.
I followed this excellent tutorial from iFixit. Here are my notes.
- Buy proper tools. You'll need a T3 Torx head. That's quite an uncommon size, so I picked up this torx set which also contains a set of tweezers.
- Melt the glue gently. Most of the glue had already perished on mine, but for the elusive splodges you'll want to gently apply heat. I used a hot water bottle filled with boiling water. I rested the phone on top of it for a few minutes and then gently peeled it apart.
- These are delicate electronics. Be very careful. Don't tug.
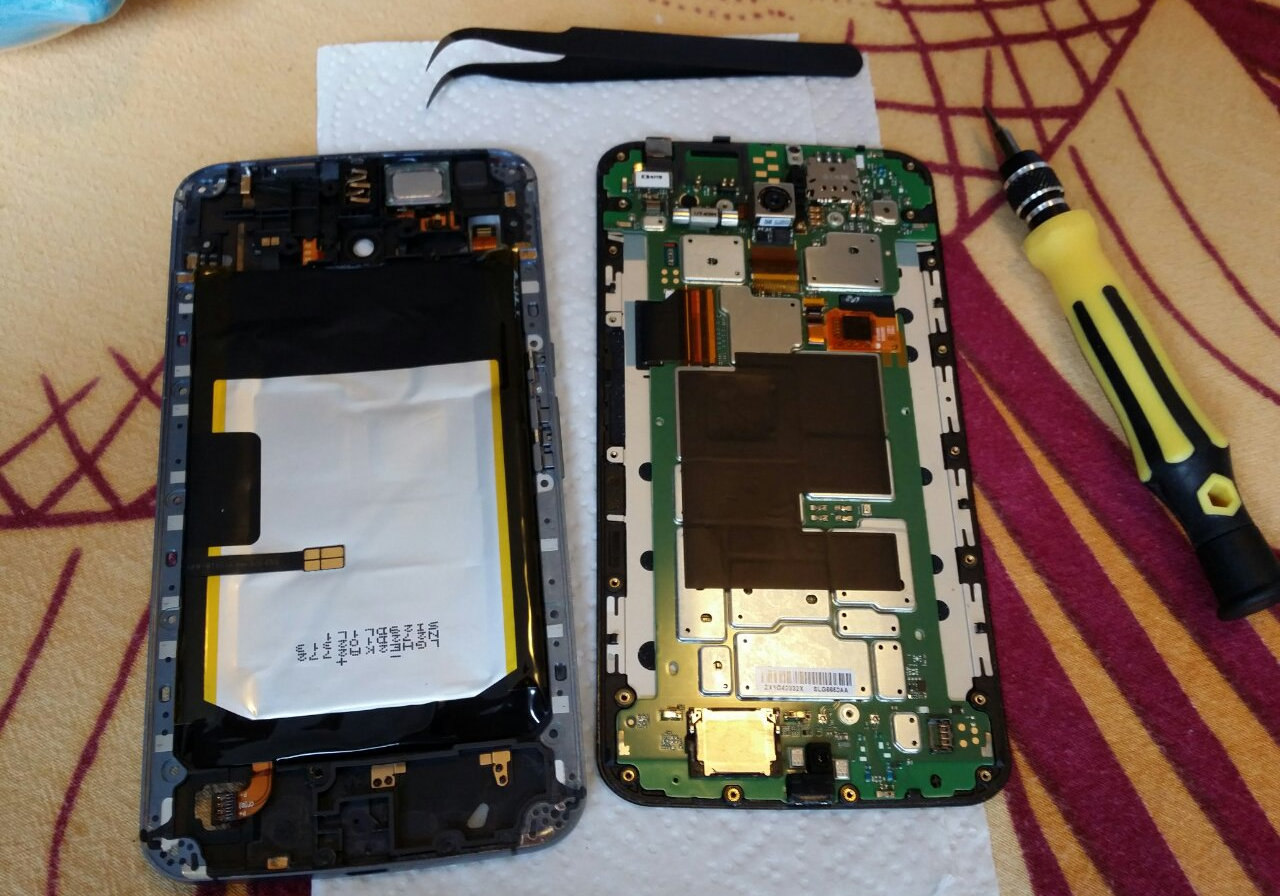
- Once you've undone all 22 T3 screws, the phablet opens into two pieces.

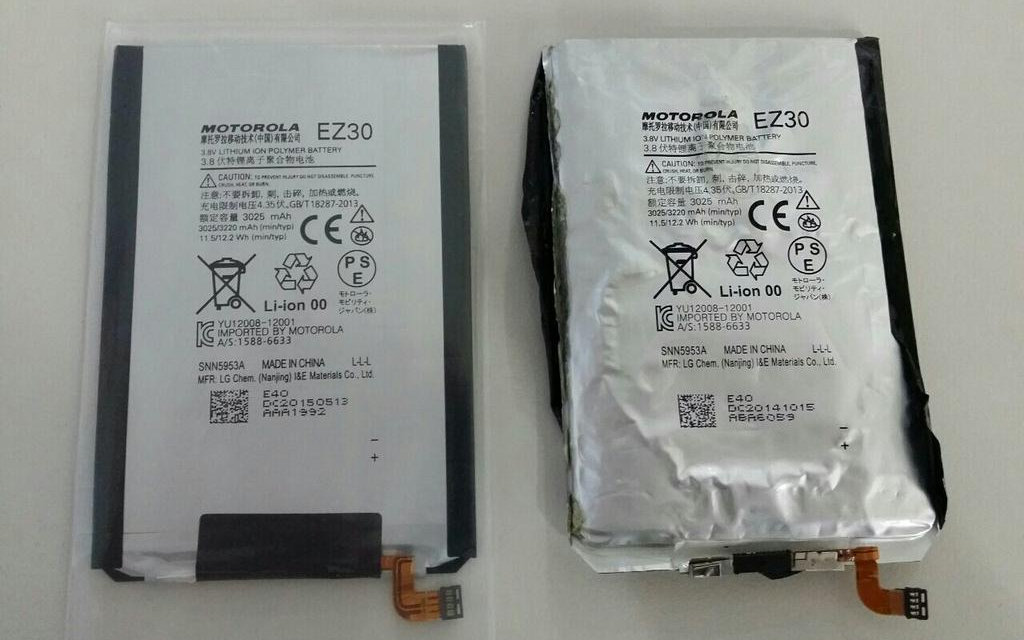
- As you can see, the old battery was
wrecked

Although, to be fair, some of that disfigurement is caused by prying off the glue. Remember to recycle your old battery safely. - When replacing the battery, you have to consider whether you want to glue things down again. If you don't, there's a slight risk that some of the precise connections could shift and you'll have to disassemble everything to realign them. I cheated an used a small piece of sticky tape to keep the Qi in place.
- You don't need to use the Qi inductive coil - although it also contains the NFC antenna as well. If you break it, you can buy a replacement fairly cheaply. The quad connector which wraps around the battery is for Qi charging. The long straight cable is for the NFC.
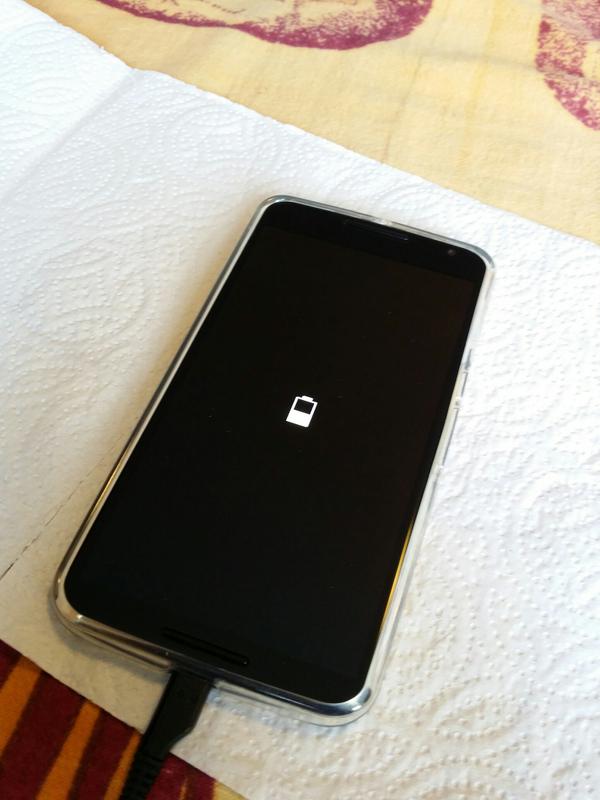
- I didn't screw everything back together until I was sure it had worked. I put in the four screws for stability and then tested both the USB and Qi charging. I also tested the NFC using a basic app.
- Success!

- The battery came partly charged - I reset the battery statistics just to make sure it was working. Once fully charged, I'm going to use it until it is completely empty.
There you have it! For around £25 including tools, I've got a brand new battery - and a little ego boost knowing I can do basic repairs to complex electronics.

3 thoughts on “Replacing The Battery on a Motorola Nexus 6”
Considering your Nexus must be under 12mths old why didn't you go down the warranty route? Although that's a slightly rhetorical question as I've experienced android device manufacturers repair/returns processes before! One of the reasons I like Apple stuff so much, walk into store walk out with replacement working device:)
So I replaced my battery, but now I cannot get past the black screen with the blinking battery with a lightning bolt symbol. Wont charge, wont boot up. Tried different cables, tried bootloader. Nada. Tried everything the internet suggested, but nothing actually pertained directly to what I was dealing with in the first place.... any ideas as to what the heck I did??! One thing I didnt do was replace the coil. I left it out. Figured I didnt need it. I hope that is my only whoops!
Terence Eden
Try replacing the coil. Or, try leaving it plugged in overnight.
What links here from around this blog?